Structure of Nginx conf file and the Configuration of Nginx on Windows WSL2 (Ubuntu 20.04)


I am currently using Windows Subsystem for Linux version 2 to run all my Linux distros, be it Ubuntu, CentOS, or Debian. There are some challenges I faced during the configuration of Nginx so I will be sharing them and the way I resolved those challenges.
Nginx is a webserver that was designed with the consideration of providing maximum performance and stability. It contains HTTP server capabilities, which can function as a reverse proxy, caching, load balancing for HTTP, TCP, and UDP servers. All these and many more Nginx can do.
Structure of Nginx conf file
All Nginx configuration files are located in /etc/nginx/ directory, while the primary config file is within this directory named /etc/nginx/nginx.conf. This is a root file, changes can not be made to this file unless the user is a sudo user, or one is logged in as root. The structure of an Nginx.conf file can be explained below:
Directives: These are configuration options usually organized into groups known as blocks or contexts. Every line containing a directive ends with a ;.
Server Block: This is a feature of Nginx webserver that enables one to host multiple websites. It usually contains a listen directive.
- Listening ports: This directive tells Nginx the hostname/IP and the TCP port where it should listen for HTTP connections.
For example:
server {
               listen     80 default_server;
               listen     [::]:80 default_server;
}
The argument above default-server means the virtual host will answer requests coming from port 80 so long it does not match another virtual host's listen statement. The second listen directive listens over IPv6 and takes on the same behavior as the first listen directive.
- Server_name: This is a directive that allows multiple domains to be served from a single IP address.
For example:
server_name     index.html index.htm;
server_name     mywebsite.com www.mywebsite.com;
server_name     *example.com   .example.com;
server_name     example.*;
- Location Block: This covers requests for specific files and folders such as mywebsite.com/blog
For example:
location      / { }
location      /images/ { }
location      /blog/ { }
- Location block with regular expressions: A location directive that is followed by ~, Nginx performs a regular expression match which is always case sensitive and if you want the matches made by Nginx to be case-insensitive, you can use ~*. While a location block with ^~ tells Nginx to stop searching if it matches a particular string. Lastly, a location block with = forces an exact match with the path requested and stops the search once an exact match has been found.
For example:
location    ~ IndexPage\.php$ { }
location    ~* \.(pl/cgi/perl/prl)$ { }
location    ^~ /home/blog { }
Install NGINX
On the terminal, install Nginx using sudo apt install nginx. After successful installation, adjust the firewall setting to allow access to the nginx service. Install uncomplicated firewall (uwf) using sudo apt install ufw. Check the status of ufw using sudo ufw status.
user@hostname:~$ sudo ufw status
Status: inactive
To change this status to active, you have to enable ufw using sudo ufw enable. Kindly remember to run sudo ufw allow 22/tcp to enable ssh access, else you will not be able to ssh to your machine once you exit. Check the status of ufw to ensure it is active.
user@hostname:~$ sudo ufw status
Status: active
Use sudo ufw app list to check the available applications on the local machine.
user@hostname:~$ sudo ufw app list
Available applications:

Nginx Full
Nginx HTTP
Nginx HTTPS
OpenSSH
To check the status of nginx service, run sudo service nginx start.
user@hostname:~$ sudo service nginx start
* Starting nginx nginx                                      [ OK ]
When you try to access Nginx default website using your IP address. You will receive an error This site can't be reached, this is because /etc/resolv.conf file was automatically generated by WSL thereby changing the nameserver ie server address to another address. To resolve this, you have to turn off the auto-generation of this file. To do that I have to create /etc/wsl.conf paste the following in the text editor
[network]
generateResolvConf = false
Save the file after creation and shut down WSL from cmd using wsl --shutdown, and restart WSL2.
Open terminal after restarting terminal, list the content of /etc directory using ls -al such that it will show the permission on each file or directory.
lrwxrwxrwx  1 root root         29 Mar 24 16:38 resolv.conf -> ../run/resolvconf/resolv.conf
-rwxr-xr-x  1 root root        268 Jul 21  2017 rmt
-rw-r--r--  1 root root        887 Dec 26  2016 rpc
-rw-r--r--  1 root root       1358 Jan 30  2018 rsyslog.conf
drwxr-xr-x  2 root root       4096 Aug 21  2020 rsyslog.d
Delete /etc/resolv.conf file above using and recreate the file such that the permission on the file changes to:
-rw-r--r-- 1 root root 0 Apr 4 07:16 resolv.conf
Restart the nginx server
user@hostname:~$ sudo service nginx restart
* Restarting nginx nginx                                      [ OK ]
Now try to access Nginx default page on your browser.
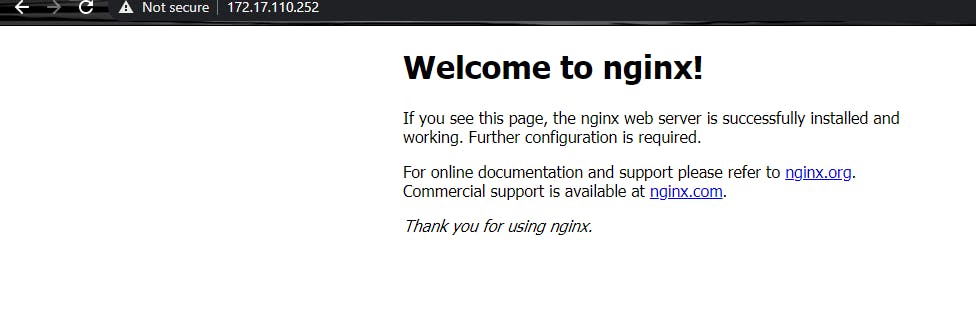
Congratulations!!! We have successfully configured Nginx web server on a WSL machine. Kindly share, like, and comment. If you have contributions to make, please do not hesitate to reach out. Thank you.